This is exactly what you need for an at-home manicure, according to manicurist Emma Welsh who has looked after the nails of Lady Gaga, Angelina Jolie and Kate Moss

By now, we’re getting accustomed to our makeup-free skin, natural roots and bare nails – whether we like it or not. But there is a lot to be said for taking some time out for a little self care via a pampering beauty session. Give yourself a mini facial (we have a great five-minute guide here) or a DIY pedicure to get your toes ready for sandal weather. Or, try this at-home manicure regime. Not only will a pop of colour on your nails brighten up your days, taking 30 minutes out to tend to your talons can be really relaxing.

“Having a manicure is very relaxing and doing it yourself is also rewarding,” says manicurist to the stars Emma Welsh. “In a few easy steps you will feel like you’ve been to the salon.” Having tended to the nails of some of the biggest celebrities in the world (she toured with Lady Gaga and has looked after Keira Knightley, Kate Moss, Angelina Jolie, Salma Hayek – to name a few), she knows a thing or two about nailing a DIY manicure. On behalf of Rimmel London, Emma has outlined below exactly how to get a perfect manicure at home and all the tools you will need.
Preparation is key, start by setting up an area. You will need:
- A small towel
- A bowl of warm water
- Hand cream
- Nail oil
- Nail file
- Orangewood stick/ cuticle pusher
- Basecoat
- Nail colours
- Cotton wool
- Nail polish remover
- Firstly, use a small amount of hand cream and massage into your hands up to your wrists for about 3 minutes. Concentrate on your nails and cuticle area.
- Put your fingers in the warm water and soak for a few minutes. Remove fingers and pat dry.
- Apply a rice size amount of cream or oil on each nail and rub in again.
- Now use your cuticle pusher to push back the unwanted cuticle that has grown on to your nail plate.
- File your nails into the shape you like. Using your file, move only one way. For example, left to right or side to centre. NOT BACK AND FORTH. unless you have a crystal nail file. In which case you can saw as these files will just create dust.
- Now wipe over your nail plate with remover, ready to apply polish on an oil or cream-free nail.
- Using the base coat, apply a thin layer to each nail making sure to brush the tip to seal the coat in, allow a few minutes to dry. Base coats are very important to protect your nails.
- If you have weak nails you need a strengthener to harden – try Sally Hansen Hard As Nails. Most people need to hydrate their nails. Look for a hydrating base coat like Sally Hansen Nail Rehab.
- Now apply two thin coats of your chosen colour, remembering the tip of the nail. Again, allow a little time between each coat to dry. Here is where you can have fun using bright colours or putting different shades over the top, or just classic nails colour. I love Rimmel Super Gel for an at-home gel-like manicure, they have a great range of colours.
- Now use Rimmel Super Gel Top Coat for a gel affect finish it’s fast drying and your top coat will help your polish to dry better.
- I always finish a manicure with a small drop of oil at the base of the nail and very lightly rub around and over the nail. You may want to wait longer for this stage.
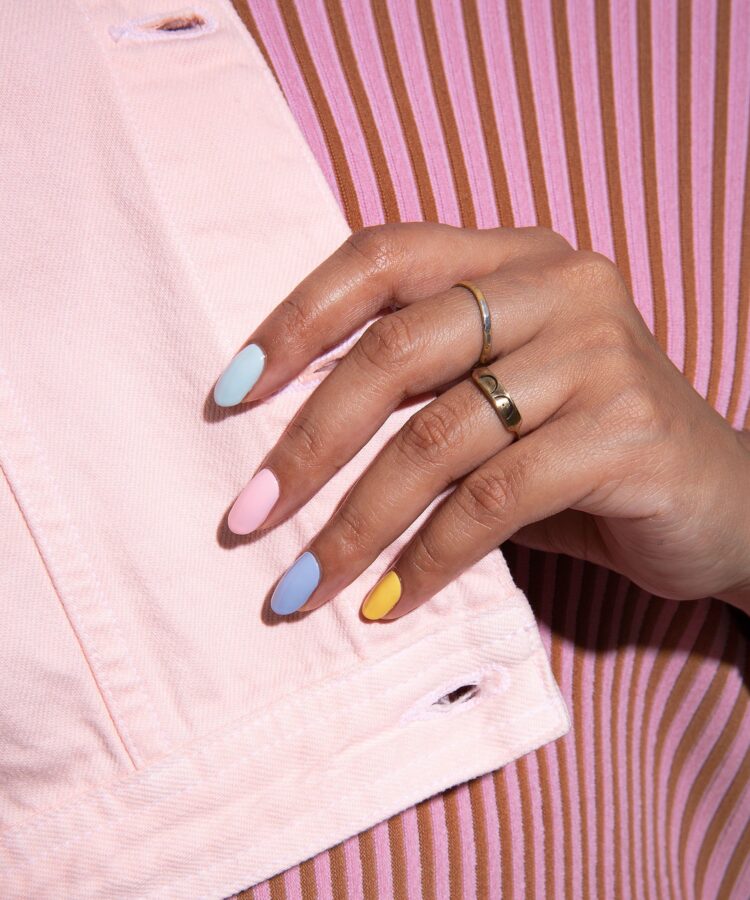
Shade debate: Gather up your nail polishes and choose a few different, complementary shades for a fun manicure. Or stick to subtle nude tones for a manicure you won’t tire of quickly.
Check out Emma’s work on Instagram @emmanailz.


