How to Press Flowers with Books
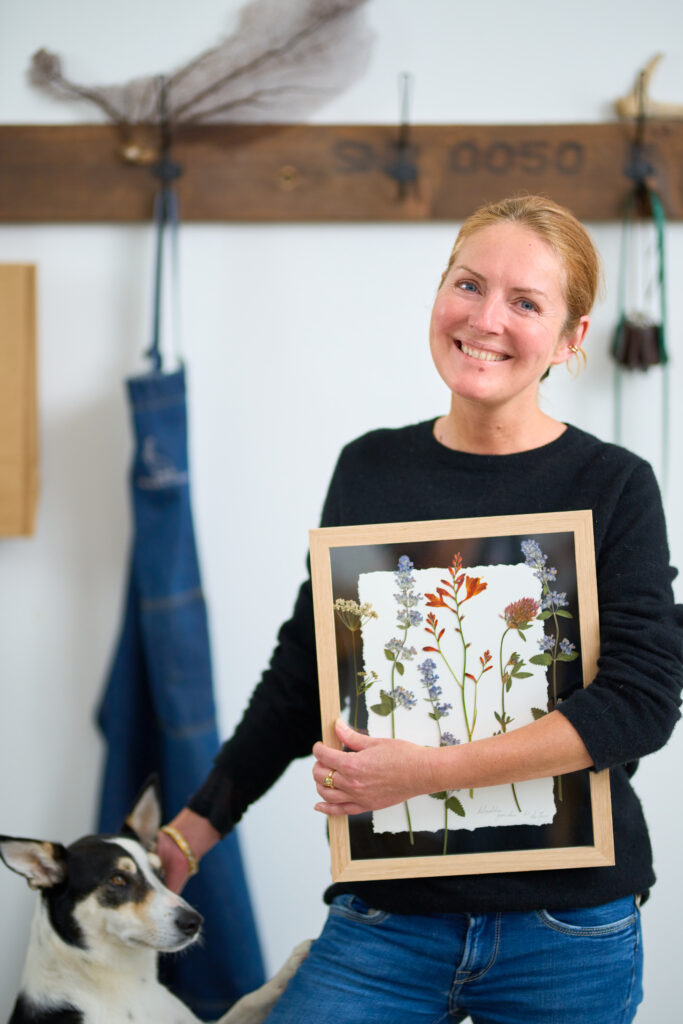
In the November issue, expert flower presser Ann Marie O’Leary showed us how to press flowers with a press. If you haven’t got one to hand, you can still create beautiful dried flowers – using heavy books! Below, Ann Marie shares some tips and tricks for DIY flower pressing.

I think everyone’s first experience of pressing flowers is slipping a precious bloom in-between the pages of an old book. How beautiful is it years later to pull this book from a shelf only to have that flower & memory flutter out as you thumb through the pages?
While this is a very romantic scene pressing flowers between the actual pages of your books may damage the pages. Below is another method of using books and no pages are damaged.
Best flowers to press :
Flowers with a low moisture content press best. Single-layer flowers such as Buttercups, Daisy’s, Pansy, Hedge Cow Parsley, Wild Bramble Roses & the common Dog Violet. Don’t forget all our beautiful foliage also – is there nothing more pretty than a framed collection of pressed wild ferns?
The Victorian’s passion for pressing Ferns became so strong the phase Pteridomania or Fern Fever was coined in 1855 by Charles Kingsley to describe the joy experienced from pressing ferns.
“Your daughters, perhaps, have been seized with the prevailing ‘Pteridomania’ … and wrangling over unpronounceable names of species (which seem different in each new Fern-book that they buy) … and yet you cannot deny that they find enjoyment in it, and are more active, more cheerful, more self-forgetful over it than they would have been over novels and gossip, crochet and Berlin – Wool.”
While it’s very tempting wanting to press a big Rose, the will needs lots of attention and daily changing of absorbent paper.
To press flowers you will need:
- Fresh gathered flowers & foliage
- A stack of heavy books
- Scrap paper – old newspaper or bills
- Regular paper – simple typing paper or copybook
* I am frequently asked if parchment paper can be used to press flowers. No, it can’t as parchment commonly refers to greaseproof paper which is non-absorbent.
* Kitchen roll, while absorbent, will leave marks on your pressings.
1. Please a little stack of your scarp paper on top of one large book, followed by a single sheet of your regular paper.
2. Now place your blooms on this sheet of paper, taking care to leave space between flowers for air to circulate. Also, be careful to not over your flowers as they may stick together when dry. 3. Place another sheet of regular paper on your flowers, with a little stack of scrap paper on top. Then pop another two or three heavy books on top also.
4. Place your stack of books in a dry well-ventilated area where they can stay undisturbed for three to four weeks.
5. Next is the hardest bit. Don’t be tempted to peek at them…!
6. Now it’s time to ripe your reward for such patience. Lift the books & scrap paper, taking extra care to peel off the layer covering your flowers. You should have perfectly pressed flowers.
7. Now you can safely place a bloom between the pages of your books. I love doing this when gifting a book to a friend.
Storing your pressed flowers
I like to store my pressings between sheets of paper as this keeps them lovely & flat until ready to use. You can also store them all between the pages of a large old book.
Whichever method you use place them in a dry well-ventilated area.
Moisture is the big enemy of pressed flowers…!
The November issue of the magazine is on shelves now.


