Need inspiration for a fun activity? We’ve got you covered…
This time of year is for downtime; relaxing, watching box-sets, indulging in your favourite foods. But, it can also be a time to try something new, now that you have some time. Cookbook author and home craft aficionado Lily Higgins has a new book stuffed with ideas of things to make, do and eat at home. Here are just a few from The Homemade Year.

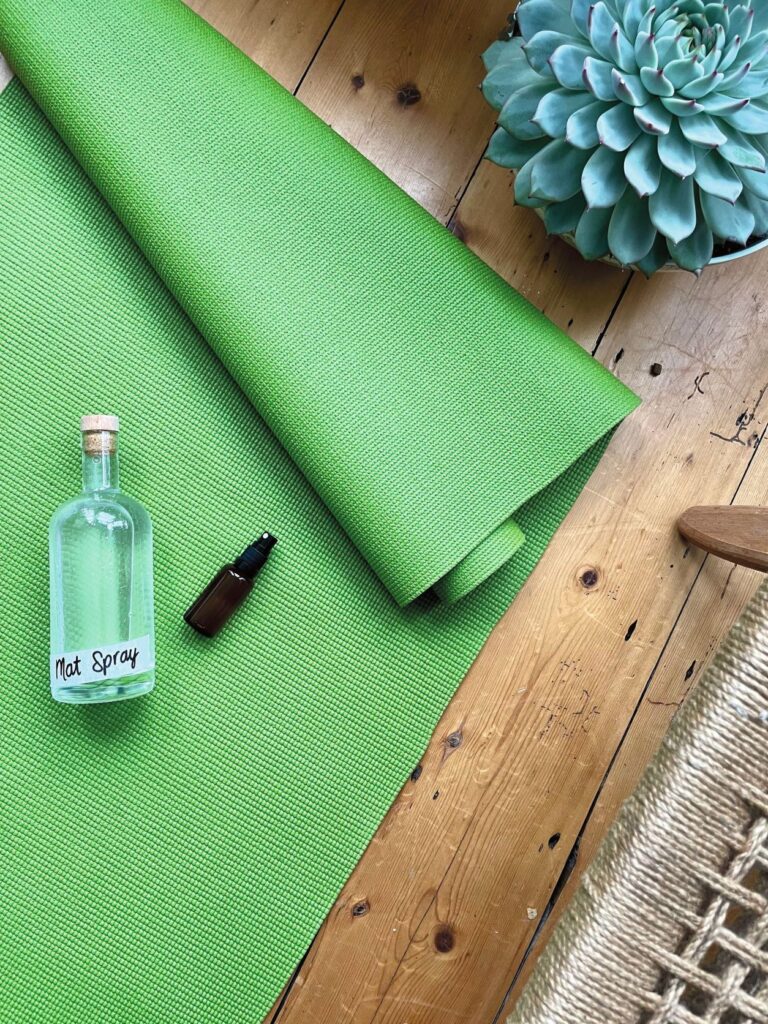
Yoga mat cleaner spray
What you’ll need:
1 × 450ml spray bottle
250ml water
125ml witch hazel
10 drops lavender essential oil
10 drops lemon essential oil
5 drops peppermint essential oil
3 drops tea tree essential oil
There’s nothing worse than trying to maintain a plank and noticing your mat is not the freshest! I try to do all I can to make myself more likely to do a little bit of yoga or Pilates each day. I love running but I find Pilates has just the right mix of mindfulness, stretching and workout that I need. Reformer Pilates is on another level, the absolute best – if you haven’t tried it then give it a go! It’s so much fun too. At home, though, I like to do yoga or Pilates through guided YouTube videos. It’s a great way to keep practising when you can’t make it to a class.
To use this lovely mixture, just spray directly onto your yoga mat. A light, even coating is ideal. Use a clean towel to rub the spray into your mat and wipe away any excess. Leave to dry completely before rolling up or using.
I chose this combination of oils because it smells amazing and has natural antibacterial properties too. Double win! Not only will this spray ensure you have a squeaky clean workout, it‘ll also ensure that with each deep breath you‘re inhaling clean, stimulating smells that make it even more Zen.
Method
- Pour the water and witch hazel into the bottle.
- Add the essential oils.
- Shake and spray directly onto the mat.
- Wipe clean using a towel and leave to dry completely.
- Use after each session.
- If you prefer a stronger smell, add more oils, or more of the one you love most.
Alternative blends:
Cleaning and deodorising: 10 drops peppermint and 10 drops patchouli
Relaxing: 10 drops lavender and 10 drops bergamot

Homemade calendar
What you’ll need:
Paper or card
Scissors
Glue
Pressed flowers, photos or children’s drawings
Pens or markers
Hole punch
Twine or ribbon
It’s the perfect time to make a calendar. There’s a fresh start and so much potential in the coming year. Making your own calendar means you can fit everything you need into the pages, add a few extra pages if you have busy summer holidays or personalise it with all your family’s and friends’ birthdays and anniversaries. You can use photos, trinkets, kids’ drawings or dried flowers to symbolise each month. Despite having the date on our watches and phones, it’s still lovely to be able to have an overall view of the year ahead, a physical representation of the future and what we have planned for it. Making a calendar is part of that planning process, thinking about what we would like to do, achieve and how we would like to live in the coming year.
I think of my calendar as the perfect way to use pressed flowers. Using a flower from each month is a lovely way to enjoy the garden and remind myself what will be coming into bloom soon. Children’s drawings or photos are also ideal.
Method
- Trim all the sheets of paper or cardboard to the same size. I like to halve A4-sized sheets of card lengthways. It’s a handy shape for hanging.
- Choose a flower or image to correspond to each month.
- If using flowers, roll the glue onto the paper first, then press the delicate flower in place.
- Glue each flower, photo or drawing to the top 1/3 of each rectangle.
- Write the months, days and dates below.
- Personalise the calendar with birthdays and special days.
- Add a section for notes at the end.
- Use a hole punch to make a hole in the top of each page.
- String the pages together with twine or ribbon and hang the calendar where you can see it.

Kombucha
What you’ll need:
200g organic sugar
15g green tea leaves (loose-leaf or teabags are ideal; matcha powder is not suitable)
500ml–1 litre kombucha (shop-bought or from a homemade batch)
1 kombucha scoby
A very large bowl
Sieve
A container for brewing the kombucha, such as a very large jar or drinks dispenser
A muslin or other cotton cloth
Elastic band
Makes 3–4 litres
Committing to improving your gut microbiome is a really great new year’s resolution. Your microbes affect your immune system, your digestion and mood. The more varied our diet is the better, so including lots of prebiotic and probiotic food is ideal. Kombucha is a very ancient fermented tea drink that’s slightly effervescent. The culture that works its magic on the sweetened tea is called a scoby: a symbiotic culture of bacteria and yeast. Together the bacteria and yeast convert the sugar to alcohol (it’s a byproduct, and usually kombucha contains about 0.5 per cent alcohol). This creates a delicious fizzy, tangy drink that can be flavoured in so many ways. The best part is that it’s easy to make and you can even make your own scoby. All you need is time. Or get a scoby from your local kombucha (booch) maker – you could also buy one online from a reputable fermenter.
During the summer we love to have the fridge stocked up with our own kombucha. You can give it a second ferment with berries or fruit to flavour it and make it even more carbonated. The possibilities are endless. It’s a fantastic fizzy option to have at hand on hot summer days, so get brewing now and your kombucha stores will be well established in a few months.
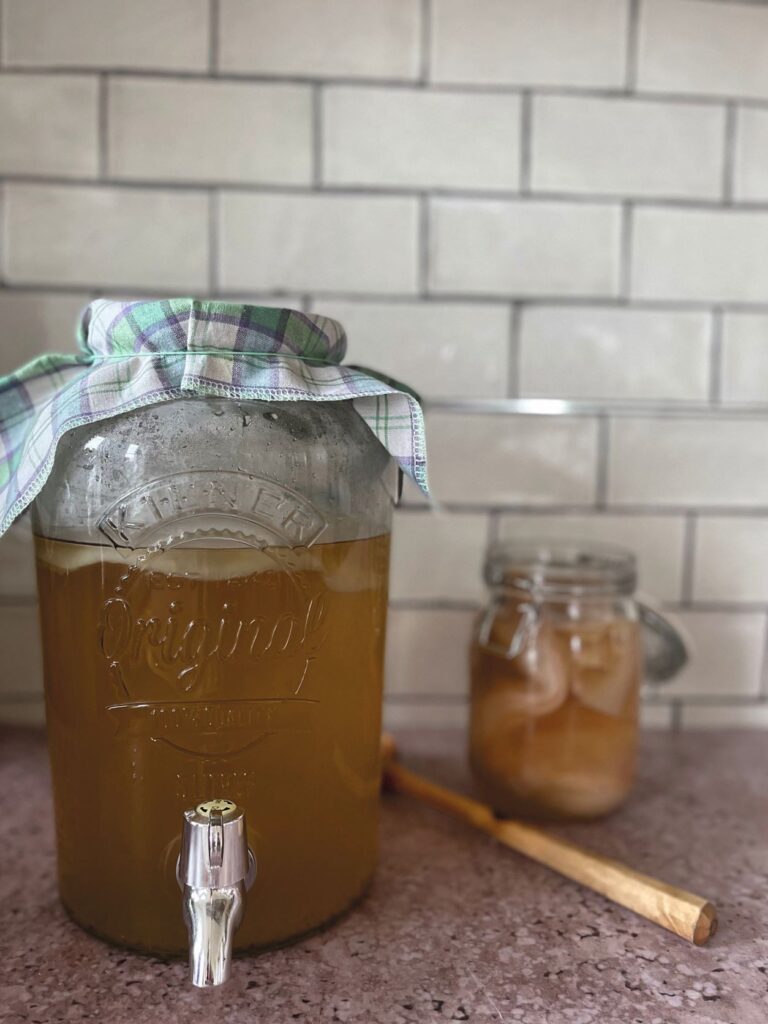
I make continuous-brew kombucha in a Kilner drinks dispenser. That way there’s no need to disturb the scoby with each batch. Just drain out what you need and top it up with sweetened tea as per the directions below.
Method
- Place the sugar in a very large, wide bowl. Add 500ml boiling water, then stir to dissolve.
- Top up this sweetened water with 2–3 litres of cooled boiled water.
- Add the green tea and stir well. Leave to brew for 15 minutes.
- Pour the sweet tea through a sieve and into your brewing container. I use a large Kilner with a tap dispenser, which is very handy for bottling.
- Add 500ml–1 litre of kombucha, either bought or from a previous batch.
- Add the precious scoby and tightly cover the top of the container with a cloth, securing with an elastic band.
- Leave at room temperature for at least one week, then taste it and see if it tastes good to you. It should have a nice balance of acidity and sweetness. If you want more acidity, brew it for a few days longer. Bottle it or flavour it when it’s still slightly sweet so that it will continue to ferment and get fizzier.
- You can now bottle it and store in the fridge, or flavour the booch by doing a second ferment (see below).
Lily’s tips: To do a second ferment you can top up the bottled kombucha with fruit juice, or add fruit such as raspberries, or pineapple and chillies, to the bottle and strain out after a few days. The sugar in the fruit will further ferment the drink, making it fizzier and giving it a gorgeous flavour.
Growing your own scoby
Buy two bottles of unpasteurised raw kombucha. There are plenty of really great Irish brands to choose from. I like to buy two different ones to vary the bacteria and yeasts. Pour both bottles into a large wide-mouthed jar. Don’t put the lid on; instead use a piece of muslin or other cloth and fasten over the top of the jar with an elastic band to let it breathe. Within a few days you’ll notice a cloudy film begin to appear – that’s your scoby! Like magic. This floating jelly is also known as a mother. Once two weeks have passed the scoby will be thick enough to begin your kombucha-making journey!


