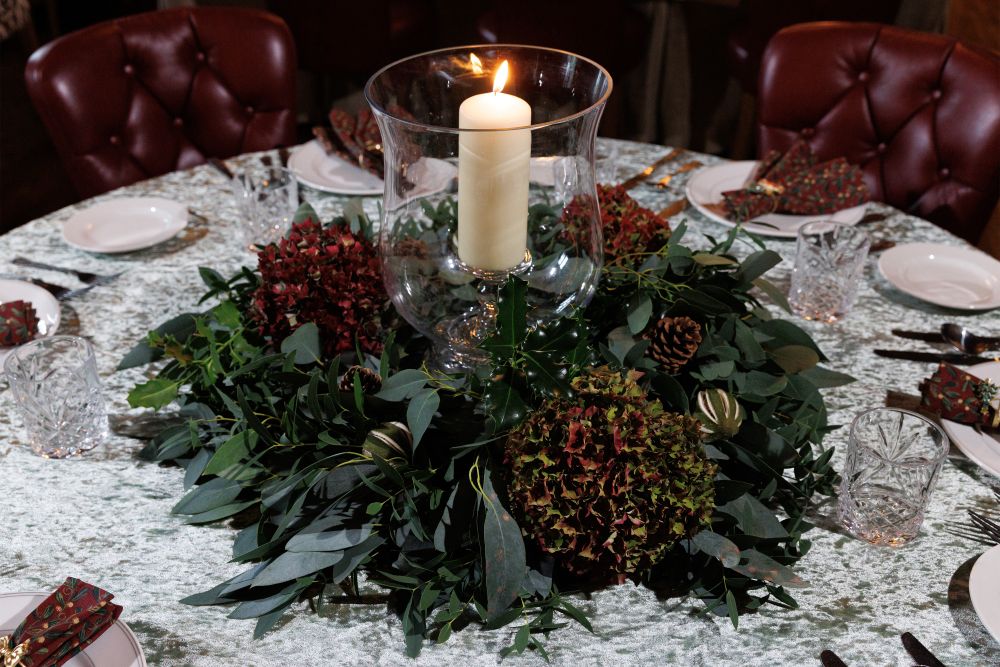
Mairéad Lavery asks flower farmer Maura Sheehy for her expert advice on how to create a low-cost Christmas wreath at home using using local materials
With so many people watching their spending this Christmas, Irish Country Magazine challenged flower grower and florist Maura Sheehy to make a set of garden-inspired Christmas wreaths and table decorations, using only locally sourced materials at minimal or no cost. It was a task she rose to magnificently.
Maura’s designs feature moss bases, heather, dry hydrangeas, clematis seed heads, various berries and grasses. They are all sourced from her garden and surrounding hedgerows, and, importantly, avoid expensive or complicated materials, so they are easy to replicate at home in just 30 minutes.
To create her wreath, Maura used natural, eco-friendly materials and simple twine binding methods.
Solid wreaths require cutting bunches to size and tying them on, while open willow types offer gaps for inserting foliage. Twisted willow is cleaned and pliable after stripping its leaves, making it easy to bend and shape without soaking.
Reel wire is also used for securing heavier ingredients such as pine cones on solid bases, offering an alternative to twine. Pre-made bases provide a quick start, while handmade twisted willow offers a unique, pliable option. Maura suggests a straw, moss or willow/twig base.

Gather your supplies
For your door wreath or table centre, you will need:
- Straw wreath base (10 or 12 inches); you can buy this at your local flower shop
- Roll of twine and a few florist wires approx. 20 gauge
- Strong scissors/secateurs
- Fresh and dried foliage, seed heads, grasses, tree branches
- Three pinecones and a length of festive ribbon
- Hydrangea, rose hips, skimmia
- Crocosmia
- Wild clematis/Old man’s beard
- Brown withered bracken/foliage
- Montbretia and Flag Iris seed heads
- Selection of greenery from the garden
Instructions
- Begin by tying and knotting the twine to the wreath base. Do not cut the twine until your wreath is completed.
- Cut and prepare a selection of your foliage pieces into easy-to-handle lengths approx. 10-12cms.
- Clean the stems by removing any leaves from the bottom two to three centimetres. This will make it easier to bind with string.
- Make little bunches by placing four or five of your stems in your hand. Next, tie your first bunch to the wreath base by wrapping the twine tightly around the bunch. Lay it flat against the top of the wreath and pull it tightly as you wrap the twine around the stems three or four times to ensure it’s secured to the base.
- Place your next bunch just below the first one. Remember to secure each bunch by pulling the twine before you place the next bunch on. Continue adding bunches onto the base, working in one direction. Ensure bunches are even in size and fullness.
- Tuck the last bunch carefully under the first bunch, pulling tightly. You can now tie off the twine, securing it at the back of the wreath. To do this, cut the twine from the roll, leaving enough to tie the end piece to some of the twine already secured.
To add the pinecones:
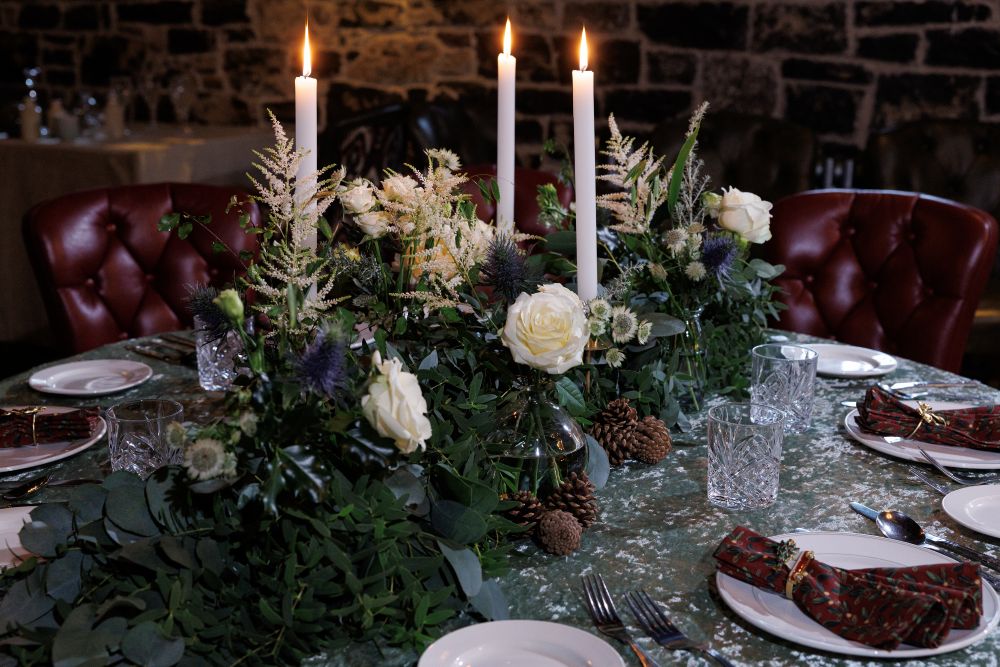
Go as near to the base of the pinecones as you can. Pull about a third of the wire away from the pinecone and then weave the remaining length of wire right around the base of it. Pinch the wire and create a crossing and secure by wrapping the short piece of wire around the longer bit. You have created a stem for the pinecone, and this can now be inserted into the wreath.
Next, make a bow with your length of ribbon and tie this onto the wreath with a piece of twine. Be sure to pull it right into the wreath. Now stand back and admire your handiwork!
Photography by Donal O’Leary